
![[Banner Image]](../images/hprods.gif)
![[Home]](../images/navbar/home.gif)
![[What's New]](../images/navbar/news.gif)
![[Computers]](../images/navbar/computers.gif)
![[Consoles]](../images/navbar/consoles.gif)
![[Software]](../images/navbar/software.gif)
![[Trade]](../images/navbar/trade.gif)
![[Twitch]](../images/navbar/twitch.gif)
![[Contact]](../images/navbar/contact.gif)
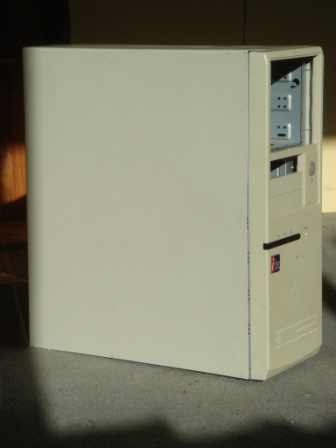
Project T as it started. Why, that looks like a beige Lo Wang...
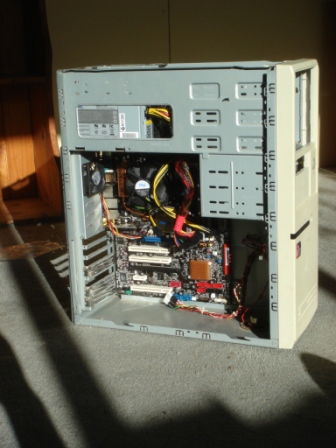
Test fitting the parts... not too snuggly, nice!
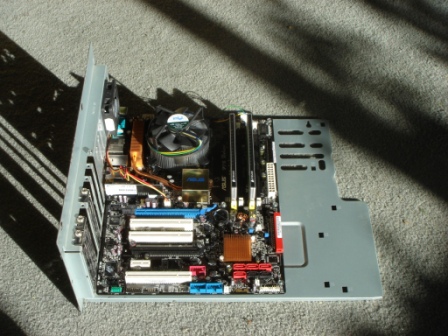
The fully removable board tray in these Macases is mint.
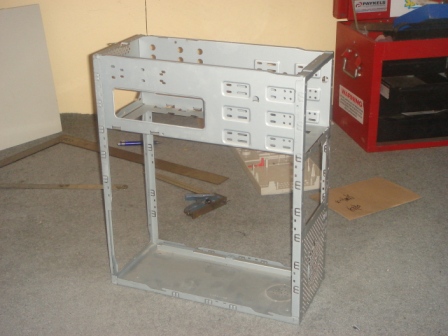
Prepping the shell by cutting out excess material.
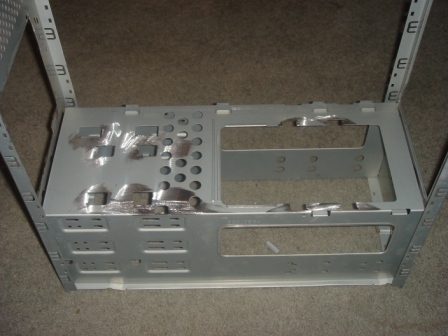
Deleted old hooks for drive cages.
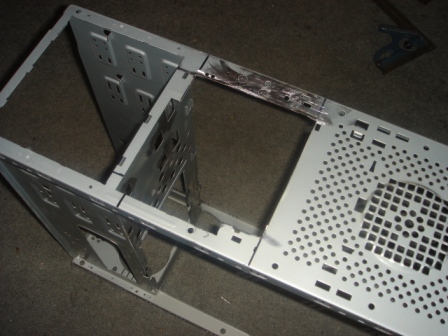
Opening the front for a 120mm fan
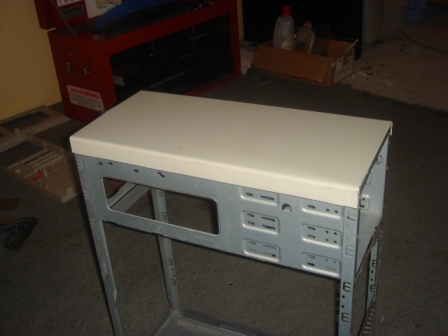
Cutting the outer shell into a three piece
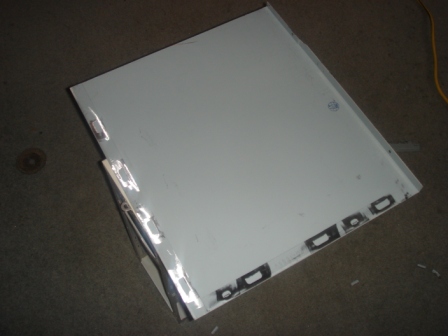
Since it's going hinged, ground off the old retaining hooks.
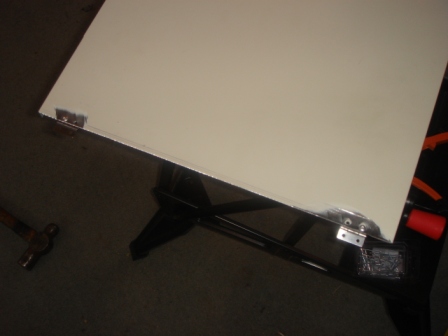
Hinges cut in and riveted on.
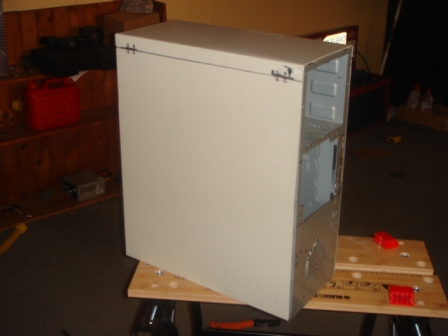
Flip top sides installed!
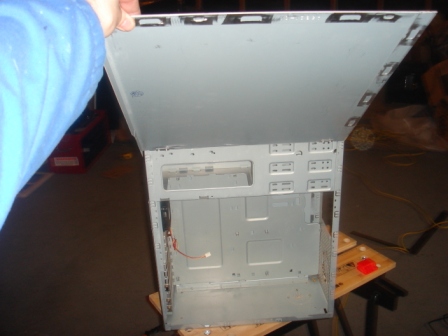
I'm sure to someone this was showing off.
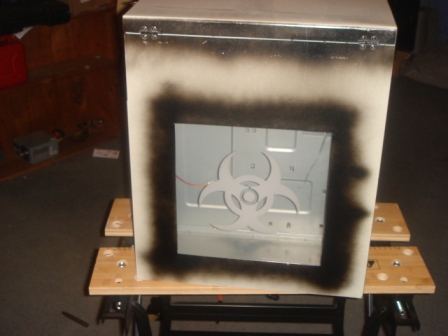
Cut the opening for a window. The biohazard window
came from a scrapped project, the paint was just to prevent
flash rusting on the edges at the time.
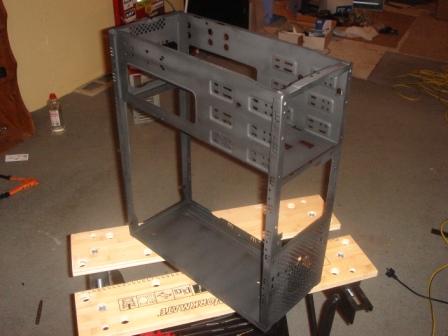
But the real paint came pretty soon! Chassis in primer.
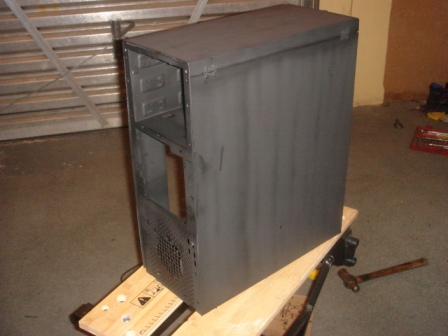
Shell in primer.
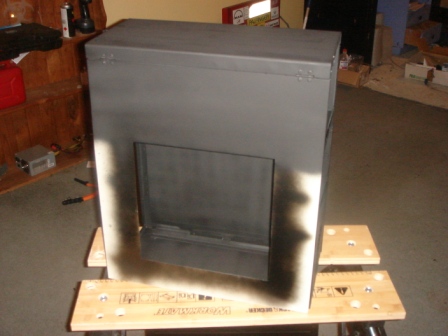
You can kinda see where I was going with this.
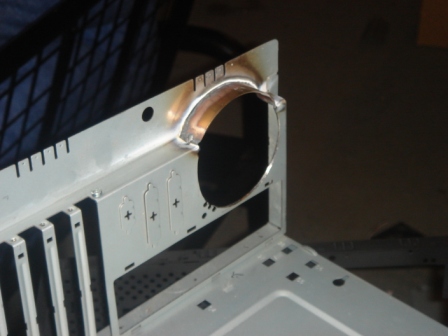
TIG welded enlarged rear opening for 80mm fan
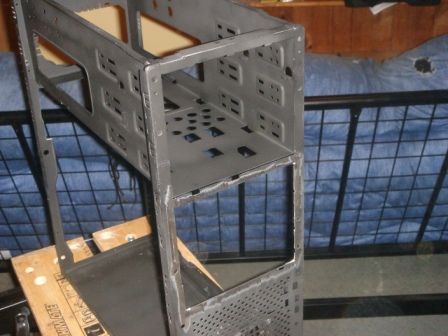
Opened the front out to square ready for new metal.
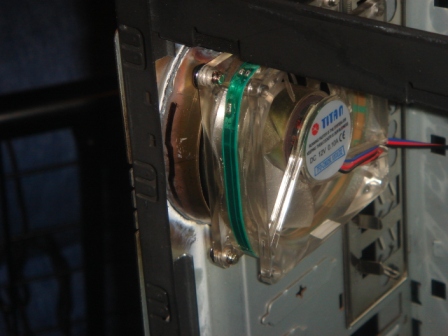
Yep, with a trim an 80 fits in the back.
Yes I know, it was installed backwards in this shot!
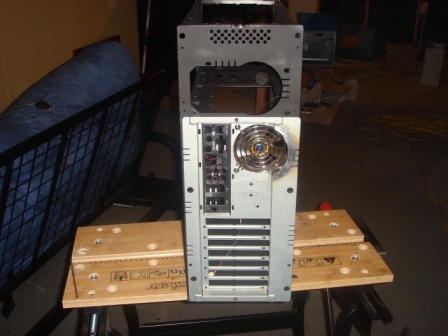
Test fitting the modified tray in the chassis.
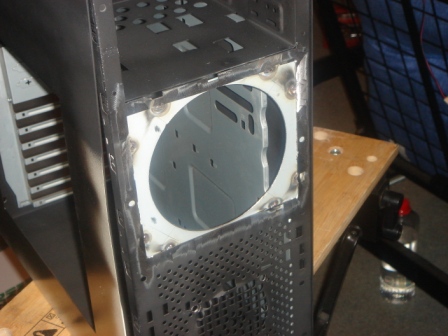
New metal welded in ready for a 120mm front fan.
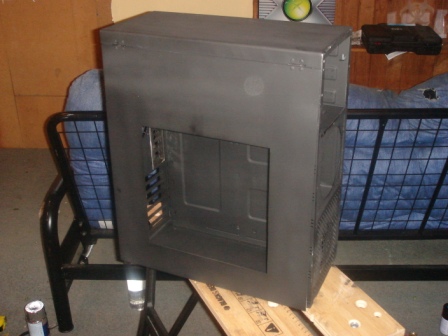
Shell fully primered.
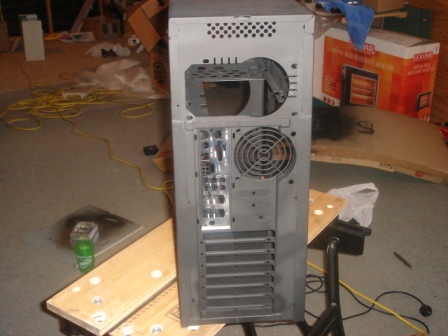
Shell fully primered, from behind.
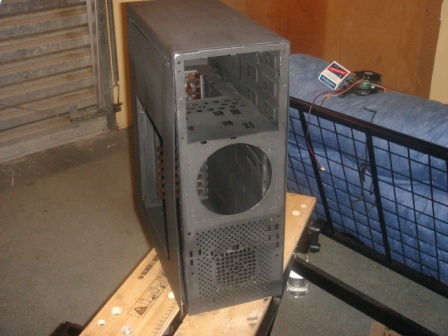
Shell fully primered, from the front.
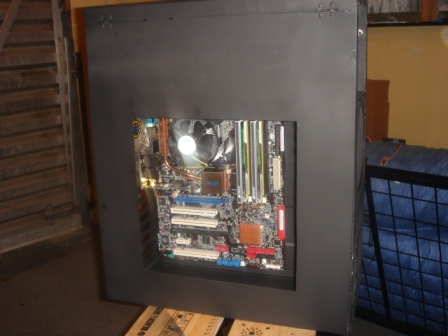
Second test fit of the parts.
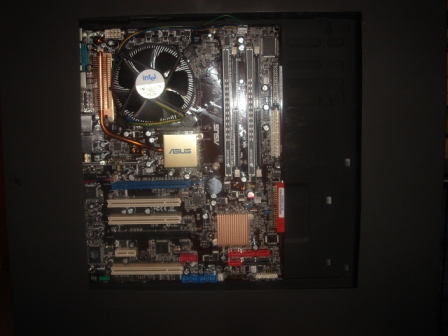
It looks like the parts are hovering. Neat!
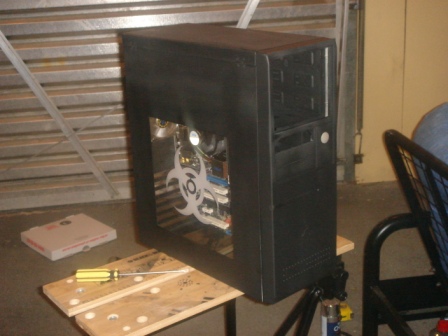
The last time it'd have the original fascia fitted.

I started with some bare black ACRyan MeshX...

Then beat it with a hammer over some hard edges...

And tickled it with a grinder. New front!

Fully assembled, top capped, drive hole in, USB ports in.

Ports, buttons and LED detail. Look at those silly old
Sunbeamtech LED feet... I'd kick for a few sets now!

Detail of the capping. Check out the hard drives too!

The early cable management was all function no form.

Damn those feet were blingy!

And then it got the silver side mesh.

Next up was installing a fan controller, as was the style.

Get it down to the essentials!

Fan controller merged.

And powered up!

New Zalman ZM-1HC1 drive coolers and custom cable.

The 1HC1s look magic through the fascia

With some UV blue sleeve and cathodes.

Glowing time! I need cathodes again.
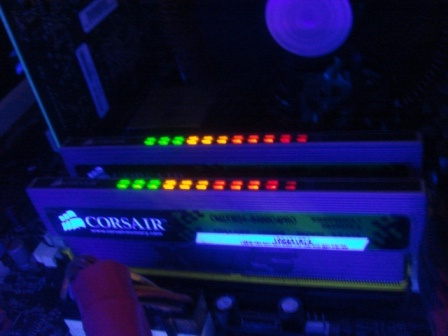
The boat glows, the RAM glows...

I also spent an age stripping the sticker off the 8800GTS.

Then came the big upgrade... dual 120mm Chameleons

And dual 80mm rears

What a neat pair.

Basically how it looks now too!

Given it was a Conroe flagship, my best friend Kurt
helped mask off an Intel logo on the silver mesh...

Which came out fantastic.

Kurt approved!

The definitive Project-T look.

The Striker Extreme era. So... much... copper...

It had 4GB RAM by then. Neat!
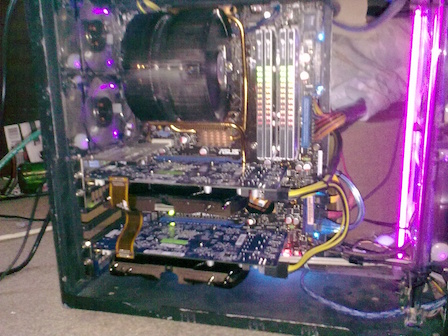
The last major upgrade while in that case...
Dual GTS250s and a Q9550.
I was seriously considering having the Striker Extreme's
heatpipe array nickel plated to match!
After this, the case got laid off for a while due to the ZM1000HP+. The parts were transferred into an HP Pavilion 8120 shell that'd been bombed white with black infill panels, where it stayed until 2012 when I upgraded to an i7-2600K. But now I'm giving away the next thing that's getting restored to service, aren't I?
Copyright © 2023 Carcenomy's Lair
Last modified: March 07, 2026